 Skip to content
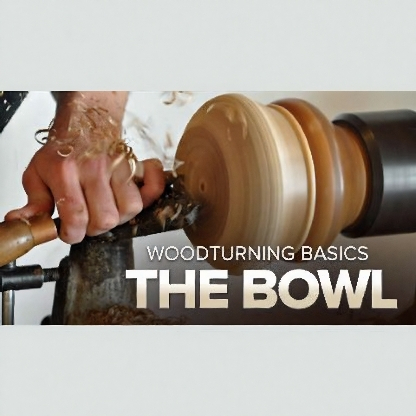
Woodturning Basics: The Bowl
Original price was: $39.99.$7.99Current price is: $7.99.
Learn fundamental woodturning techniques as you create unique bowls from raw wood to finished piece. Renowned instructor Michael Kehs teaches you to select the right wood, prepare your workspace, and use your tools for safe and beautiful results. Master each step, including mounting your blank, shaping, hollowing, sanding, finishing, and even working with green wood. By the end, you’ll have the skills to craft handcrafted bowls that truly stand out!
Course No. 40510
Learn fundamental woodturning techniques as you create unique bowls from raw wood to finished piece. Renowned instructor Michael Kehs teaches you to select the right wood, prepare your workspace, and use your tools for safe and beautiful results. Master each step, including mounting your blank, shaping, hollowing, sanding, finishing, and even working with green wood. By the end, you’ll have the skills to craft handcrafted bowls that truly stand out!
Video Lesson List
1. Introduction & Getting Started
Meet your instructor, Michael Kehs. Preview the stunning bowls possible on a lathe, and learn which tree parts are best. Venture outdoors as Michael harvests the blank for the class.
18 min
2. Shop Safety & Tool Sharpening
Establish safe shop practices and learn essential safety gear. Get your tool rest ready and discover how to sharpen your gouges for precise, tear-free cuts.
13 min
3. Mounting & Rounding the Blank
Start turning your bowl! Learn three methods for mounting blank wood, make initial cuts, add a tenon, and master shaping the outside of your bowl using correct gouge techniques.
24 min
4. Hollowing the Bowl & Making a Jam Chuck
Slowly hollow out the bowl and achieve even wall thicknesses using double-ended calipers. Then, create a custom jam chuck to hold your hollowed bowl securely.
22 min
5. Drying & Truing Up a Green Bowl
If you’re using a freshly felled tree, drying is essential. Michael explains how wood changes as it dries, and how to true up your bowl inside and out for a flawless finish.
29 min
6. Sanding & Finishing the Bottom
Sand the bowl on the lathe, moving from 80-grit to 320-grit for a smooth surface. Learn to use a sanding pad, then pare down the tenon and finish the bottom of the bowl.
27 min
7. Applying the Finish
Choose the best finish for your bowl and master professional application techniques. Complete your project with a three-step buffing process for a truly polished result.
25 min
Related products


By Area